There comes a point in every Oculus Rift owner’s life when they think they can do better and I am no exception. No, I’m not talking about in my personal life, but the placement of my Oculus Sensors to give me a better tracking space.
My problem is that where I normally place my sensors, one of the sensor’s camera is blocked a bit by one of my monitors I have on an arm and both are blocked by my desk leading to a no-tracking dead-space area right in front of my desk. This became annoying pretty quick when developing when I needed to reach for things on the floor in front of my desk in VR but just simply could not.
Enter, the Oculus Wedge. We designed the Oculus Wedge to fit in your home and be as unobtrusive as possible while still giving you the best experience possible. The revolutionary 100% bio-degradable design gives you peace of mind you are not harming our beloved planet earth… Okay, enough with my terrible Jony Ive impression. It’s just a piece of wood with some holes and stuff drilled through it, but it works pretty damned well and cost me virtually nothing!
Anyway, here is how I built the thing.
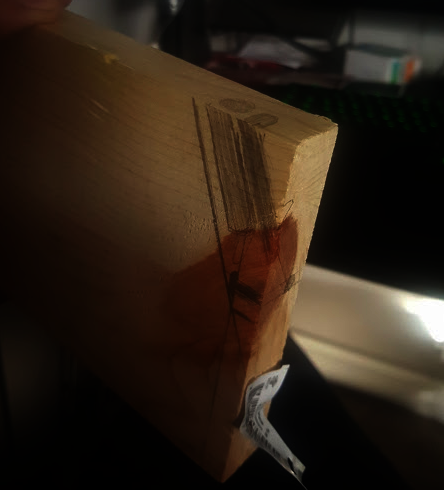
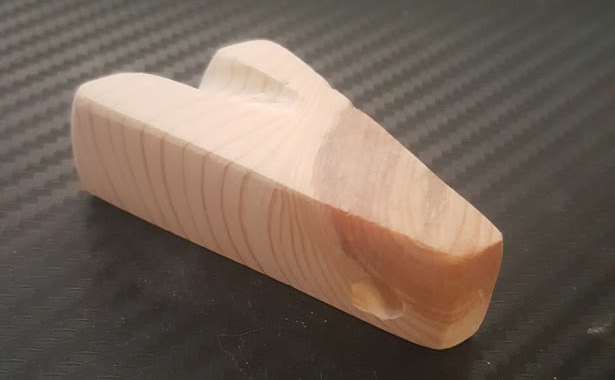
I dug up a piece of scrap wood I had in the garage, detatched my Oculus sensor from it’s stand and sketched out some rough measurements. You can see in the image below what the sensor will have a hole drilled in it with a slot cut out for the cable to rest in as well as a hole for a screw to mount this to my wall.
I used a hacksaw to cut out the wedge-shape from the block of wood. You could use a jigsaw to get a much cleaner cut if you mount the wood down securely with some c-clamps. Since I couldn’t find my c-clamps, I made do with just the hacksaw and some sandpaper to get rid of the uneven parts.
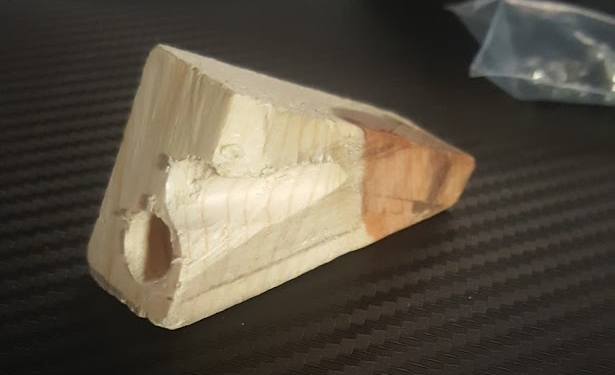
After that I carefully lined up a quarter-inch drill bit to the marking I made on the top and did my best to match the angle of the wedge shape. Since the quarter inch drill bit was not large enough to accommodate the Oculus Sensor’s post I had to press on the sides of the hole with the drill on in order to widen it up. I suggest you use a larger drill bit if you have one since this was the most tedious part of the build.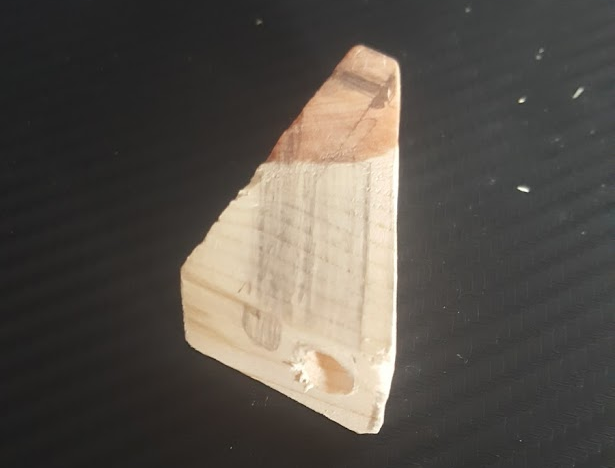
After I finished widening the hole for the sensor to sit in, I needed to cut out a notch for the cable to rest in. I used my quarter inch drill bit again for this part, but I pressed it against the side of the wood at an angle so it could dig into the wood to give me the shape I wanted. Be warned though that this takes a firm grip on both the wood and drill in order to not hurt yourself. The drill can easily push itself off the piece of wood and go towards your hand you might be using to hold the wood in place. I should know since I ended up hitting my thumbnail which saved me from any real damage. If you have a better idea on how to accomplish this, please leave a comment below.
Also notice that I ended up breaking off a small piece of wood at the top of the wedge. That was no big deal because I planned on sanding this our and once it is installed, you can’t even see that part of the wood.
I then drilled a hole in the front of the wedge with a drill bit large enough to accommodate a screw so it could be mounted to a wall. Since I do not need the screw to be gripped into the wood itself, I drilled it large enough for the screw to slide freely in and out of the opening but small enough so the head of the screw will not fit.
Now that all the cutting and drilling was finished I took some sandpaper to the wedge to smooth off all of the rough edges and pencil marks. I started off with some larger grits of sandpaper and worked my way to 3000 grit to give it as smooth of a finish as I could manage.
With everything sanded down, I went the extra step of staining the wood. Now this is obviously optional, but I feel it made the piece look much higher quality than it did without it. I won’t go into details on how I did it since there are much better resources online, but I primed the wood, stained and sealed it.
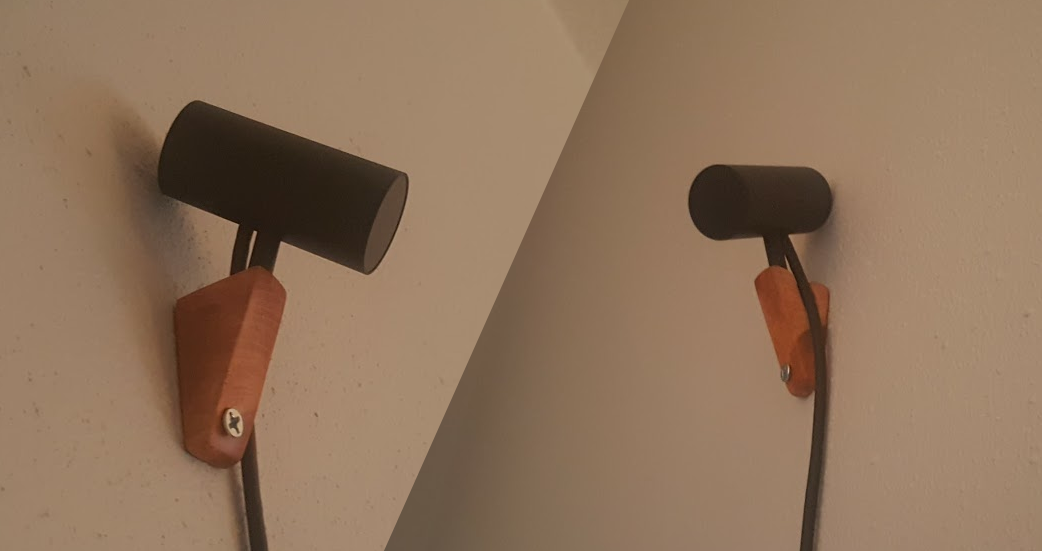
I waited an hour or two until it was dry enough that it wouldn’t leave a mark on my wall and then I screwed it into my office’s drywall roughly eight feet high.
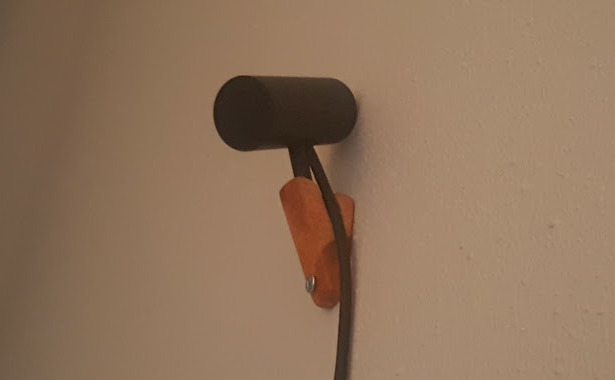
Those with keen enough eyes will notice that the sensor is also pressed against the wall. Luckily for me, I needed the sensor to be angled which just barely made it fit. If you need more clearance for your sensor I suggest you make your wedge larger to give it room.
Now that I have my sensor mounted up high, my tracking volume has improved greatly since there are fewer blind-spots in the office.
Let me know in the comments if you have built your own Oculus Sensor mount and how you did it!